Project review
Artwork, garment, placement, size, colors, quantity and deadline.
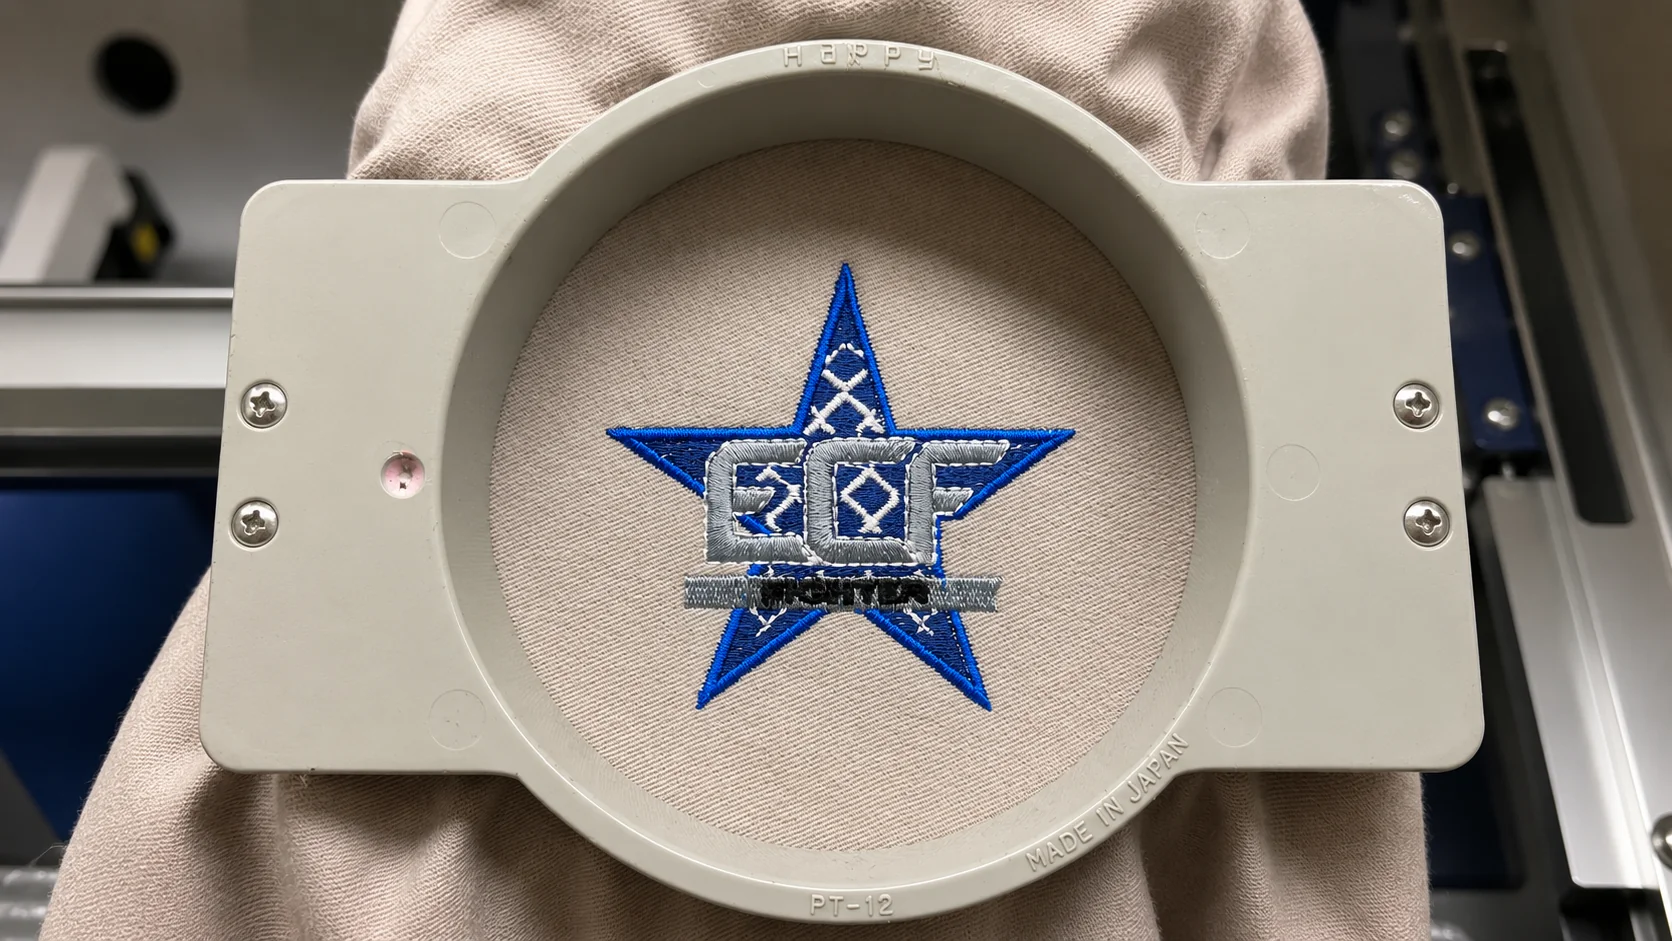
Artwork, garment, placement and setup all have to work together. Here is how the job moves from idea to finished piece.
Exact steps vary by service, but we confirm the important details before committing the order to production.
Artwork, garment, placement, size, colors, quantity and deadline.
Digitizing for embroidery or print-file preparation for DTF.
Hooping or pressing, machine setup, color changes and run monitoring.
Trimming, cleanup, visual check, packing and pickup or delivery coordination.
Embroidery digitizing translates shapes into stitch types, directions, densities and sequences that a machine can produce.
Small lettering, narrow lines, heavy fills and overlapping shapes may need adjustment at the intended size. A clean visual file is helpful, but the embroidery setup still has to be built for the fabric and placement.
For DTF, the priorities shift to resolution, transparency, line weight, size and print readiness.
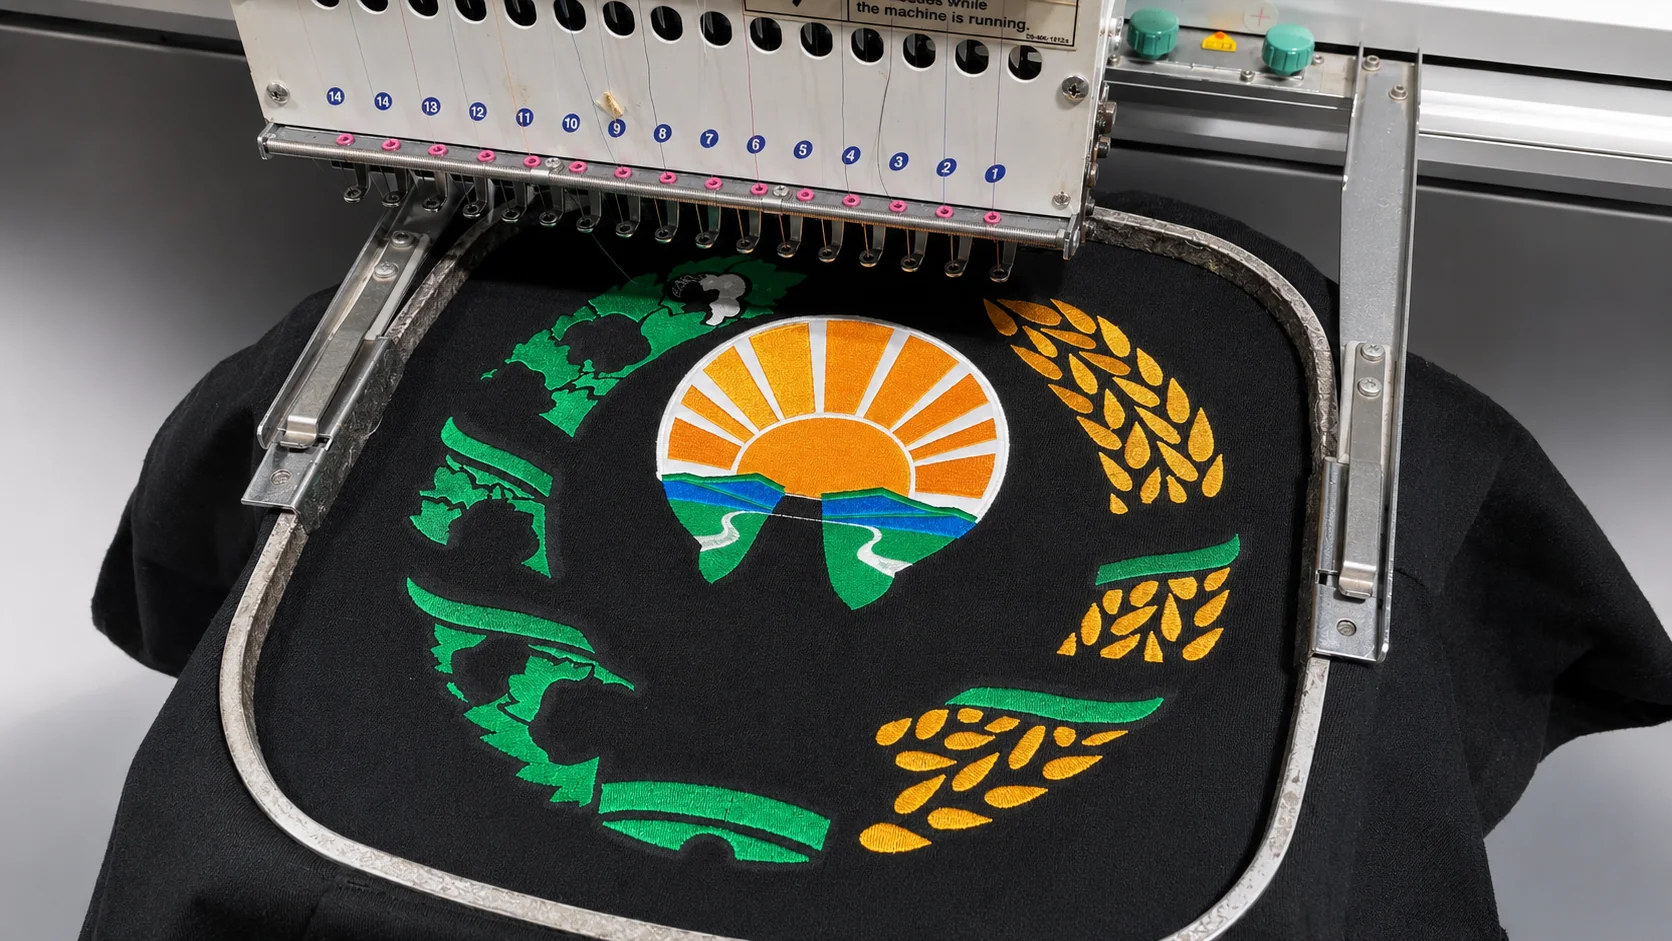
A polo, hoodie, cap and lightweight tee behave differently. Stabilizer, hooping, placement and machine settings are selected for the piece.